Difference between revisions of "Tutorial4"
| Line 38: | Line 38: | ||
== Add a page or a popup == | == Add a page or a popup == | ||
| − | Add a new page by clicking this icon | + | Add a new page by clicking this icon [[File:Tutorial4-8.png|32px]] and then select "page". |
| + | |||
| + | [[File:Tutorial4-9.png|130px]] | ||
| + | |||
| + | Go back to the menu page by selecting the "page" toolbar and clicking on the "menu" tab. | ||
| + | |||
| + | [[File:Tutorial4-10.png]] | ||
| + | |||
| + | Add a "link" object and edit its attributes. Select "page1" from the dropdown menu. | ||
| + | [[File:Tutorial4-11.png]] | ||
Revision as of 18:06, 29 April 2014
This tutorial describes how to create a project with the Project Editor tool.
To access the Project Editor enter the following URL in your Web Browser:
https://192.168.0.50/hsycoserver/manager
If you need more information about the first login to Hsyco please read first this: Tutorial1
Create a new project
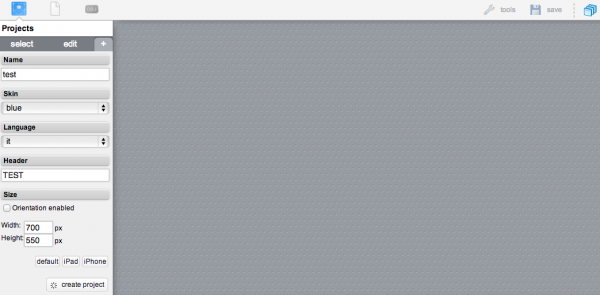
Create a new project by clicking the "+" icon.
Assign a name to the project (for example test) and a title (Header). Finally click "create project".
Add an image
Let's add an image to the out project. Click the icon ![]() on the top left side of the control bar.
on the top left side of the control bar.
Search for the "image" tab and then click "+"
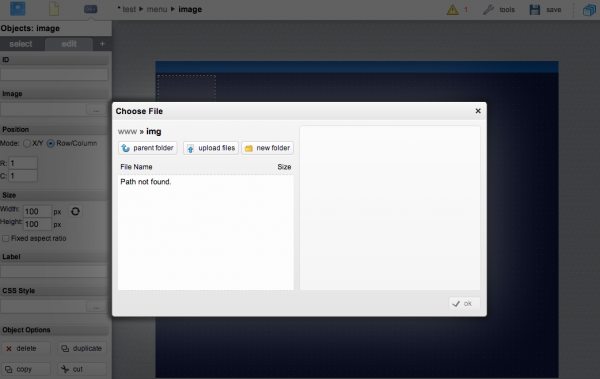
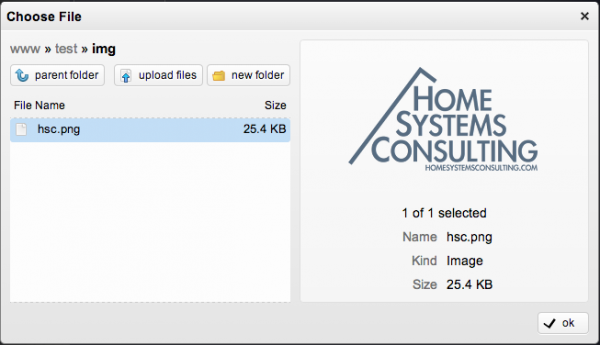
Select and upload an image from your hard drive.
For example in this tutorial we are uploading "hsc.png". (Only png and jpg images are supported)
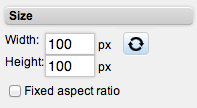
You can easily resize the image by using the "Fixed Aspect Ratio" options.
Add a page or a popup
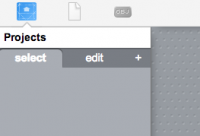
Add a new page by clicking this icon ![]() and then select "page".
and then select "page".
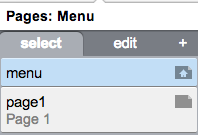
Go back to the menu page by selecting the "page" toolbar and clicking on the "menu" tab.
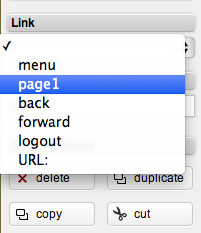
Add a "link" object and edit its attributes. Select "page1" from the dropdown menu.
