Difference between revisions of "Tutorial5"
Jump to navigation
Jump to search
(Created page with "Category:TUTORIALS This tutorial describes how to create a dummy IO server. To access the Manager enter the following URL in your Web Browser: <nowiki>https://192.168.0...") |
|||
| Line 11: | Line 11: | ||
Click on the "Settings" icon and then on the "I/O Servers" icon. | Click on the "Settings" icon and then on the "I/O Servers" icon. | ||
| + | |||
| + | [[File:Tutorial5-1.png|200px]] | ||
| + | |||
| + | Select "DUMMY" from the drop down menu. | ||
| + | |||
| + | [[File:Tutorial5-2.png]] | ||
| + | |||
| + | Assign the ID "dummy" to this new IO server. | ||
| + | |||
| + | [[File:Tutorial5-3.png|600px]] | ||
Revision as of 08:55, 30 April 2014
This tutorial describes how to create a dummy IO server.
To access the Manager enter the following URL in your Web Browser:
https://192.168.0.50/hsycoserver/manager
If you need more information about the first login to Hsyco please read first this: Tutorial1
Adding a dummy IO server
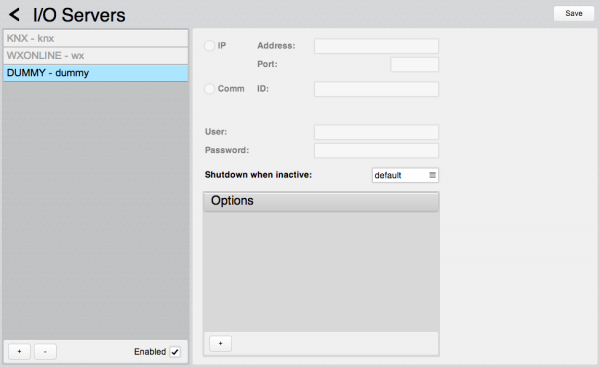
Click on the "Settings" icon and then on the "I/O Servers" icon.
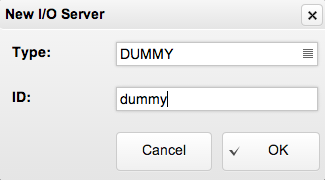
Select "DUMMY" from the drop down menu.
Assign the ID "dummy" to this new IO server.


