Tutorial1
HSYCO SERVER ships pre-installed with the latest version of the HSYCO software, on a Linux Ubuntu 12.04 LTS Server distribution stripped of all not-essential services.
The Oracle Java SE Runtime Environment version 7 is also installed. No other software is required.
This chapter describes the access procedures for the basic management of the system and the structure of HSYCO’s installation and configuration files.
Initial Set-Up
Hsyco comes with different hardware configurations:
- HSYCO MINI - ARK1122
To start the server simply plug the power supply. HSYCO automatically starts, the execution of HSYCO is signalled by three consecutive high-pitch beeps.
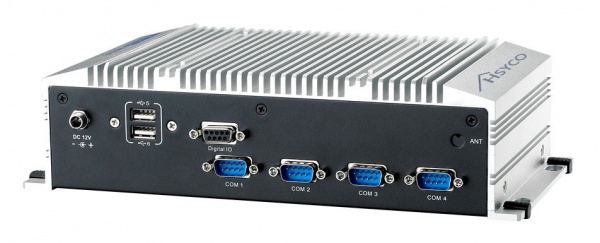
- HSYCO PRO - ARK2120
To start the server simply plug the power supply. HSYCO automatically starts, the execution of HSYCO is signalled by three consecutive high-pitch beeps.
- HYSCO PI - RASPBERRY PI
To start the server simply plug the power supply. HSYCO automatically starts in two minutes (approx).
HSYCO SERVER is configured with the following default network configuration:
- IP address: 192.168.0.50
- Net mask: 255.255.255.0
- Default Gateway: 192.168.0.1
- DNS: 192.168.0.1
The IP address 192.168.0.50 will be used from now on in all the examples as the HSYCO SERVER address.
On the two Ethernet ports server, the port which is usually configured is the one next to the USB ports, shown as LAN1. The Ethernet port LAN2, on the right, works but it is not configured.
