Alarms Manager
This plugin provides an application for monitoring and configuring alarms reporting for installations comprising heterogeneous devices such as sensors, input/output devices, network devices and IP cameras, managed by several users possibly divided into groups.
Before using the plugin, configure all the I/O Servers needed and make sure they all communicate correctly with HSYCO.
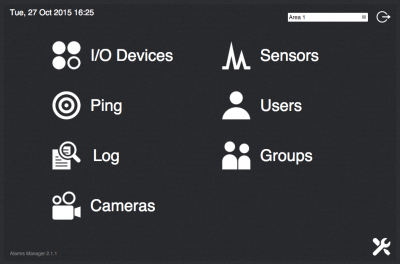
To view the Alarms Manager interface go to the URL of the "alarms2" project on your server; for instance https://192.168.0.50/hsycoserver/alarms2. From the main page you can access the different sections:
Contents
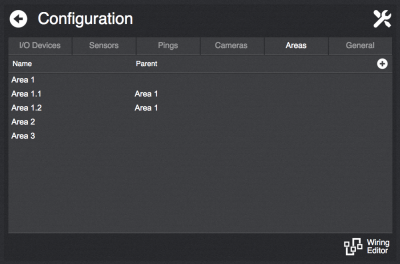
Configuration
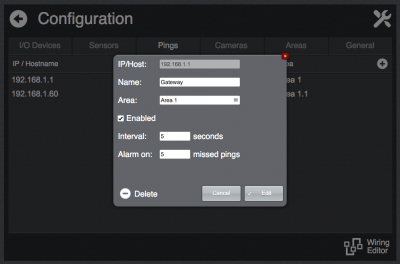
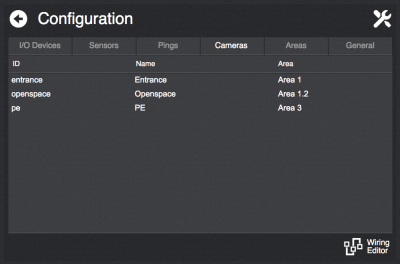
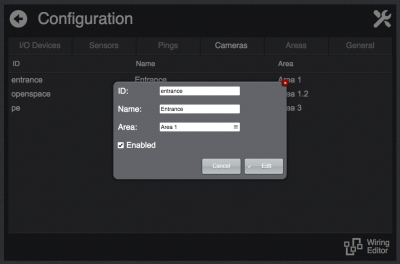
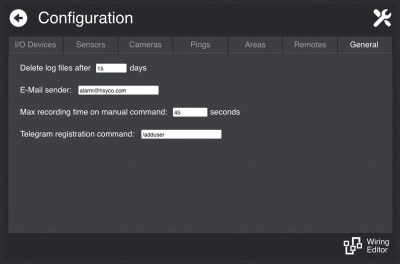
To access the configuration page click on the icon on the bottom-right of the main page.
At the bottom of the configuration page you find a link to the Wiring Editor which gets automatically populated with the I/O devices defined in this application.
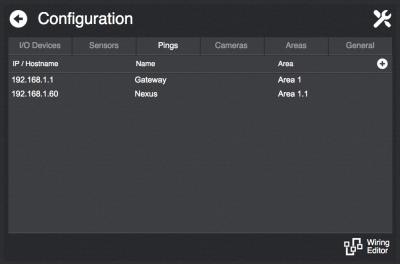
Following is the rest of the configuration sections:
Areas
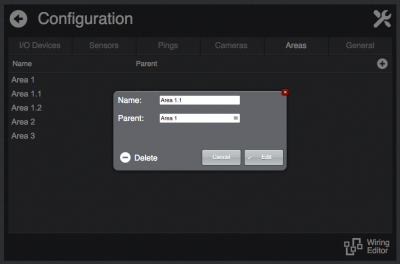
Areas represent separate locations of the installation. Each area comprises different devices and users.
It is possible to create a hierarchical area structure by assigning parent areas to other areas. It is possible to create as many level as needed.
If more than one area is defined then, from the main page, it will be possible to select an area to filter the item listed in the various sections of the application.
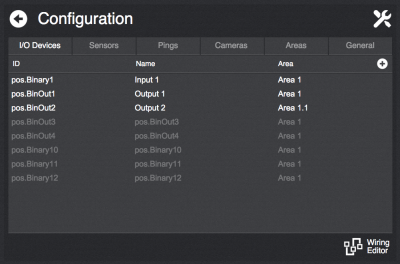
I/O Devices
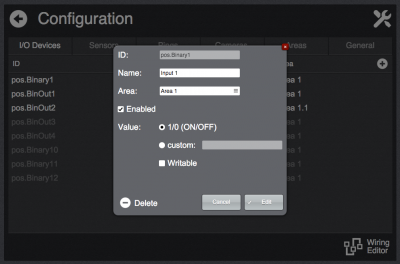
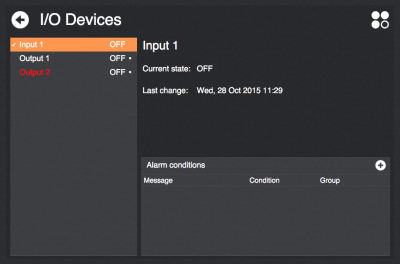
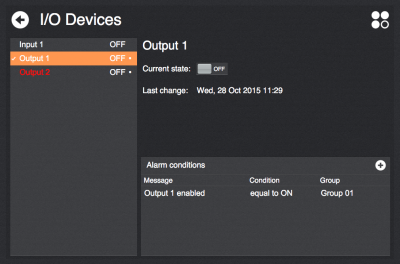
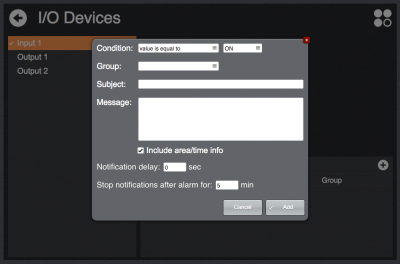
I/O Devices represent datapoints having a discrete set of possible values. The usual case is datapoints having a 1/0 value (corresponding to the ON/OFF states).
It is possible to define custom values by selecting the custom option in the value settings of a datapoint and listing its possible values separated by a comma (e.g. "1,2,3"). It is also possible to assign a user friendly label to each value appending it to the corresponding value after a ':' character (e.g. "1:OK,2:WARN,3:ERROR").
If the datapoint corresponds to a writable output and you want to allow users to change its value from the application select the Writable option
Sensors
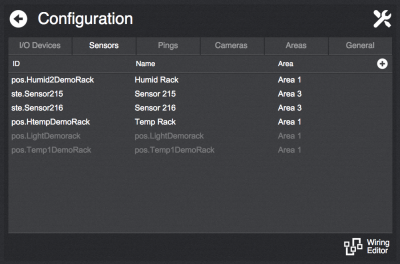
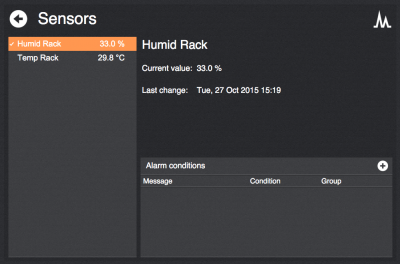
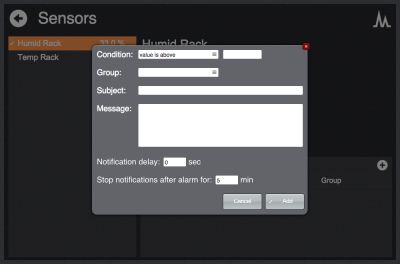
As sensors you can add datapoints having "analog" values such as temperature, pressure and so on.
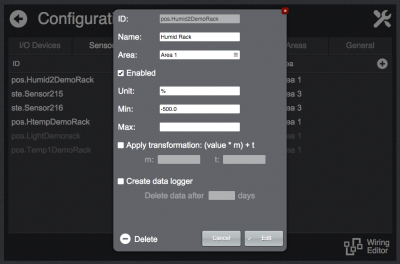
Configuration parameters:
- Unit: unit symbol used in the view interface for this sensor
- Min/Max: valid range for the sensor values. Values outside the specified range will be ignored by the application.
- Apply transformation: To be used in case a transformation is needed to calculate the actual measured value from the value of the specified datapoint. For instance, it can be used for temperature probes outputting a 4-20 mA value.
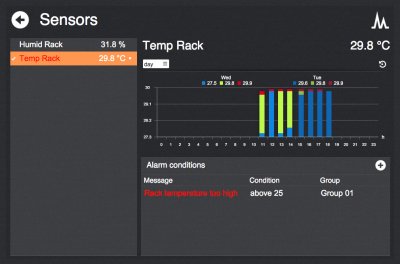
- Create data logger: Wether to create a data logger gathering data from this sensor. It will be visible in the sensor's view interface.
