Alarms Manager
This plugin provides an application for monitoring and configuring alarms reporting for installations comprising heterogeneous devices such as sensors, input/output devices, network devices and IP cameras, managed by several users possibly divided into groups. The application generates alarm logs and notifies users via e-mail and/or SMS text messages.
Before using the plugin, configure all the I/O Servers needed and make sure they all communicate correctly with HSYCO.
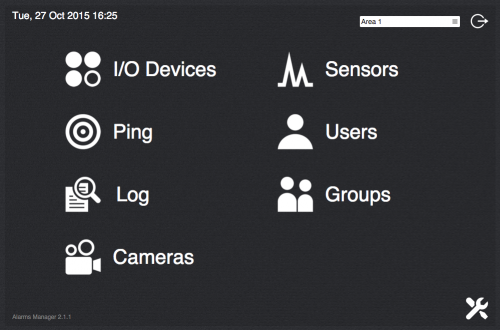
To view the Alarms Manager interface go to the URL of the "alarms2" project on your server; for instance https://192.168.0.50/hsycoserver/alarms2. From the main page you can access the different sections:
Contents
Configuration
To access the configuration page click on the icon on the bottom-right corner of the main page.
This section is only available for HSYCO users holding admin rights.
All the devices defined in the configuration and set as "enabled" will be listed in the corresponding sections of the application with a specific view interface.
At the bottom of the configuration page you find a link to the Wiring Editor which gets automatically populated with the I/O devices defined in this application.
Following is the rest of the configuration sections:
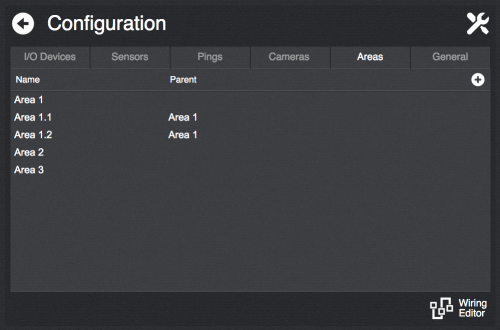
Areas
Areas represent separate locations of the installation. Each area comprises different devices and users.
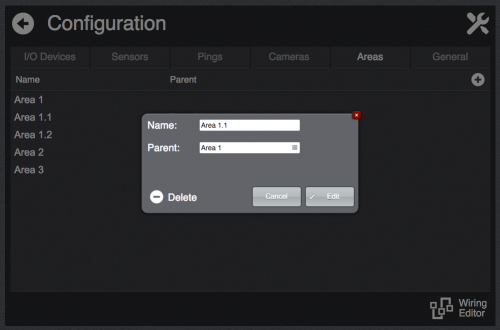
It is possible to create a hierarchical area structure by assigning parent areas to other areas. It is possible to create as many level as needed.
If more than one area is defined then, from the main page, it will be possible to select an area to filter the item listed in the various sections of the application.
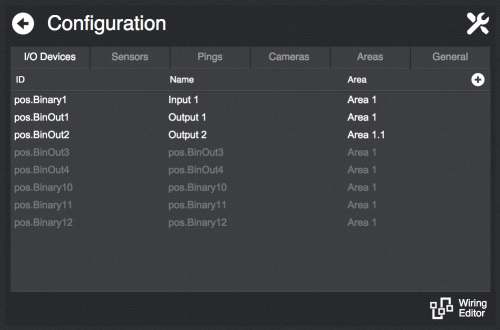
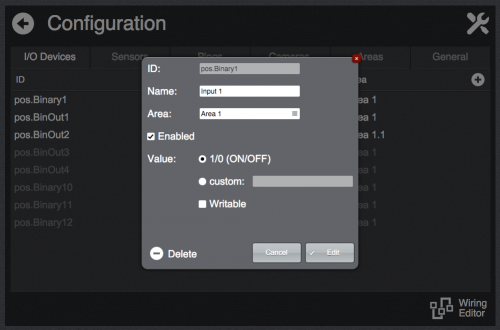
I/O Devices
I/O Devices represent datapoints having a discrete set of possible values. The usual case is datapoints having a 1/0 value (corresponding to the ON/OFF states).
It is possible to define custom values by selecting the custom option in the value settings of a datapoint and listing its possible values separated by a comma (e.g. "1,2,3"). It is also possible to assign a user friendly label to each value appending it to the corresponding value after a ':' character (e.g. "1:OK,2:WARN,3:ERROR").
If the datapoint corresponds to a writable output and you want to allow users to change its value from the view interface select the Writable option
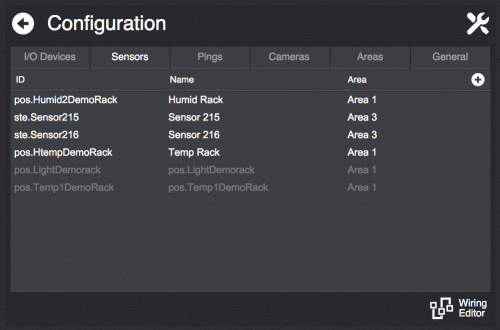
Sensors
As sensors you can add datapoints having "analog" values such as temperature, pressure and so on.
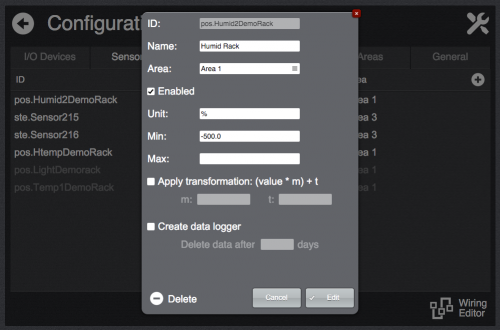
Configuration parameters:
- Unit: unit symbol used in the view interface for this sensor
- Min/Max: valid range for the sensor values. Values outside the specified range will be ignored by the application.
- Apply transformation: to be used in case a transformation is needed to calculate the actual measured value from the value of the specified datapoint. For instance, it can be used for temperature probes outputting a 4-20 mA value. The read value will be multiplied by the specified m value and then added to the t value.
- Create data logger: whether to create a data logger gathering data from this sensor. It will be visible in the sensor's view interface. It is possible to specify the persistence time of the saved data.
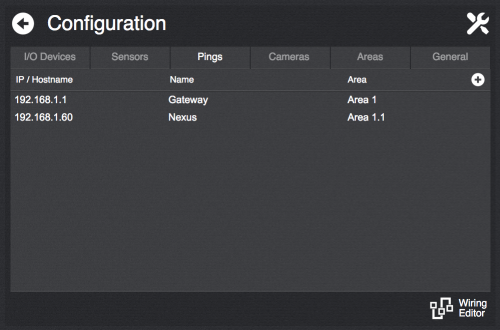
Pings
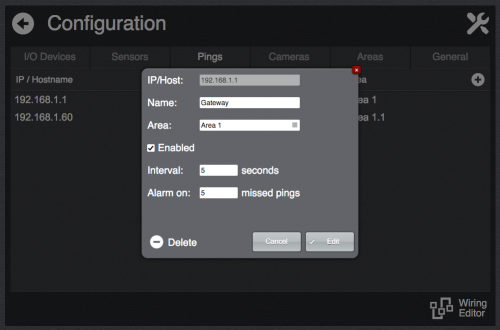
Here you can add network devices to monitor their connectivity (by means of "ping" requests sent from HSYCO). Specify their IP address or host name and set the device name.
It is possible to specify the interval at which ping requests are sent and the number of failures after which the device is considered unresponsive and thus an alarm is triggered.
Cameras
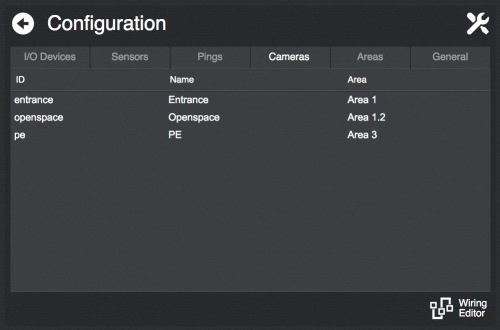
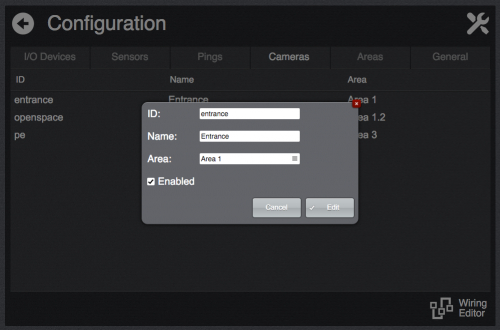
The cameras listed here are the ones defined in HSYCO's configuration. You cannot add or configure a camera from here.
As for the other sections, here you can enable/disable cameras to make them available or not in the view interface and assign them a descriptive name and the associated area.
General
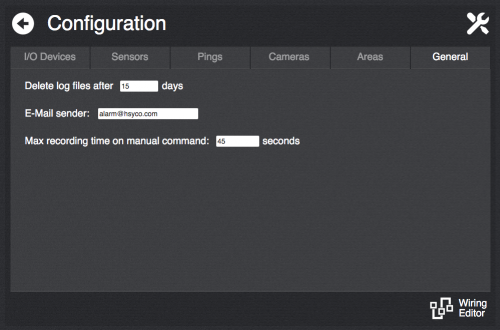
- Delete log files after X days: specifies the persistence time of the log files created by the application
- E-Mail sender: the e-amail address to be used to send alarm notifications to users
- Max recording time on manual command: The cameras view interface gives the possibility to manually record images from the selected camera. This option specifies when to automatically stop the recording if not manually stopped.
Groups
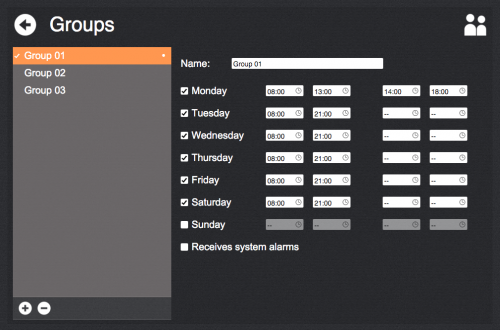
A group represents a set of users monitoring the same set of devices.
Create/delete groups using the +/- buttons at the bottom of the list and enter a name.
For each group you can select the days it is active and, for each day, up to 2 time intervals in which it is active. When a group is active, the users belonging to the group will receive alarm notifications targeted for such group.
Groups currently active display a "•" symbol next to their names.
The Receives system alarms option specifies whether this group should receive system alarms triggered by the System I/O Server (which should be added in HSYCO's configuration) such as low storage available, no internet connectivity, disconnected I/O Servers and unreachable cameras.
Users
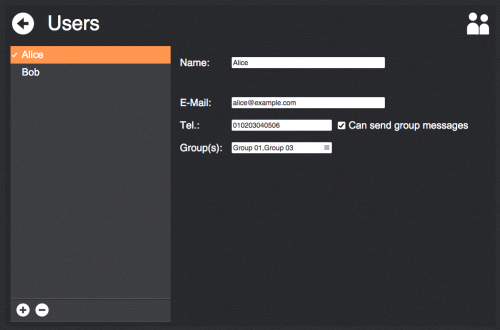
Create/delete users using the +/- buttons at the bottom of the list and enter a name.
- E-Mail: if specified, alarms notifications for the user will be sent to the specified address
- Tel.: if HSYCO is provided with a GSM I/O Server you can specify the phone number of the user that will be used to send SMS text notifications to. Use the same number format described in the GSM I/O Server documentation
- Can send group messages: select if the specified number is allowed to send Group SMS messages
- Group(s): select the group(s) the user belongs to
I/O Devices
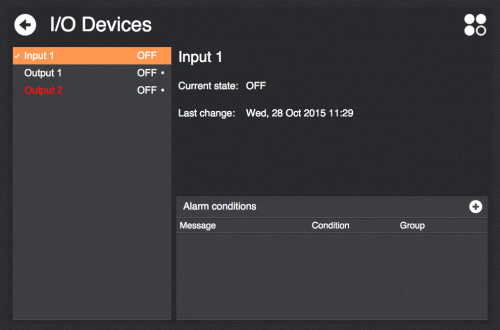
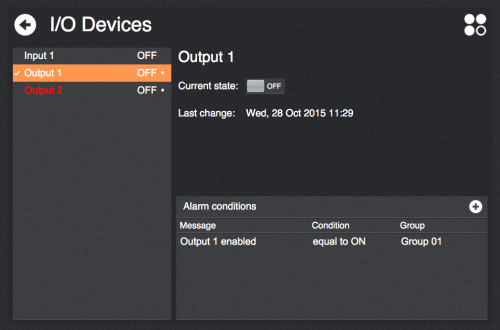
This section lists the configured I/O Devices. By selecting an entry you can view its current state and, if configured as writable, set its value.
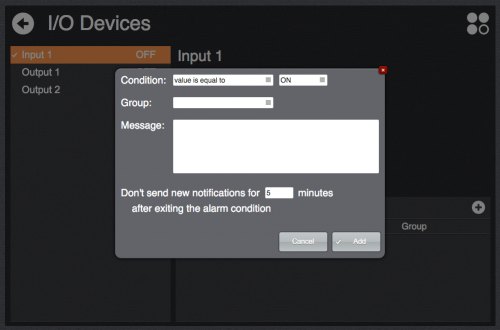
For each device you can specify alarm conditions that will trigger notifications to the target groups. To add a condition click on the + icon:
The specified message will be sent via e-mail/SMS to the users belonging to the target group (if active) when the specified condition evaluates to true. To avoid repeated notifications you can specify a time interval after an alarm condition is exited in which new notifications will be suppressed.
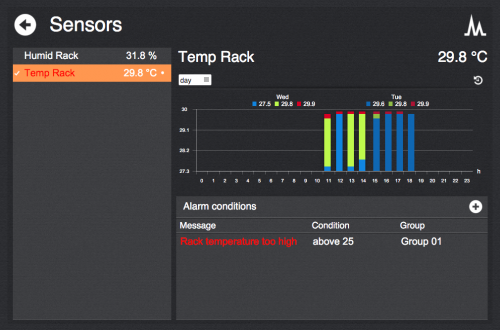
Devices for which alarm conditions have been defined show a "•" symbol next to their names in the list. If one of the conditions is active, both the condition and the device name turn red.
Sensors
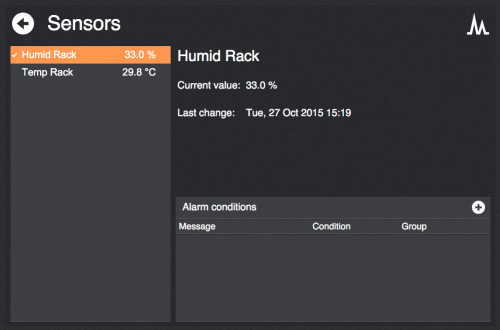
This section lists the configured sensors. By selecting an entry you can view its current state and, if configured, its data logger chart.
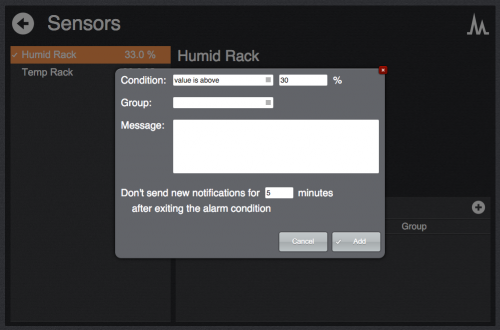
As for I/O devices you can add alarm conditions:
Cameras
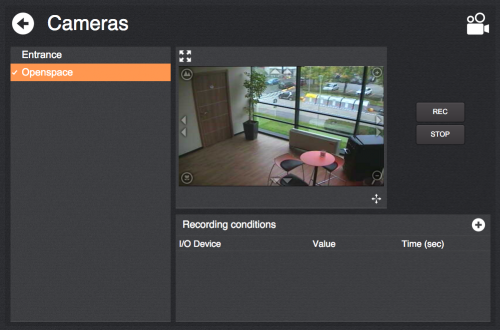
This page lists all the configured cameras. Click on a list entry to view the video stream of the camera and manually record frames.
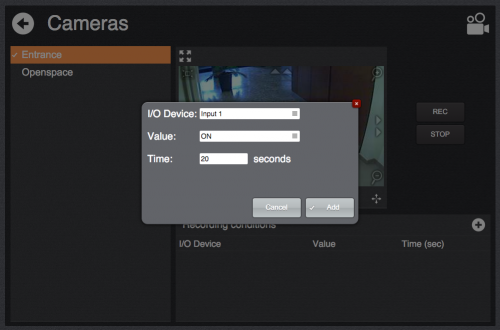
For each camera you can create recording conditions associated to an I/O device switching to a specific value:
Ping
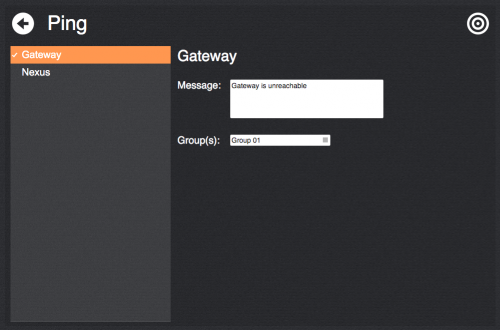
Here you can see all the monitored network devices and specify the target group(s) to send notifications to in case of loss of connectivity.
Log
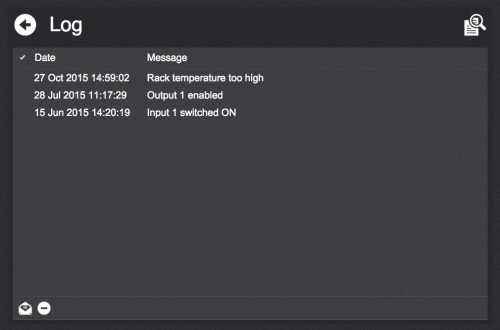
This page lists all the recorded alarm events. You can select log entries and send them via e-mail in CSV format (clicking on the envelop icon) or delete them (clicking on the - icon).
Log entries are also stored in CSV files contained in the directory "alarms_manager_data/logs" in the HSYCO root on the server.
Group SMS
Enabled users can send group SMS texts to users belonging to groups of the same area.
To this end, the user should send an SMS to the GSM modem connected to HSYCO with the following format:
<group_name>#<text>
This message will be forwarded to all the users belonging to the specified group.
Events
The application generates USER events that can be used to add custom logic to alarm events.
For each datapoint with alarm conditions defined, the following USER events are triggered:
alarm.<datapoint_id> = 1       // when at least an alarm condition on the datapoint is true
alarm.<datapoint_id> = 0       // when all alarm conditions on the datapoint are false
